|
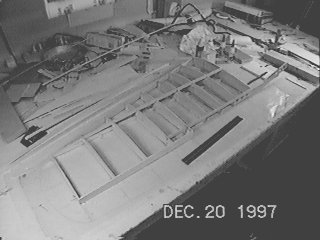
The left wing frameup on the building board. As with elsewhere, there were some parts problems. Nothing a bit of fiddling won't fix, though. When working with someone else's plans, it definitely pays to do some sanity checking on the parts templates before cutting the parts to the final shape. When cutting the ribs, I used the "blank stacking" method outlined in the first article of this series. When I had all nine ribs "blanked" times 4, I placed the rough-cut blanks on the plans and found that there were some major discrepancies in the length and spar placement of some of the ribs. I corrected most of this before final shaping. |
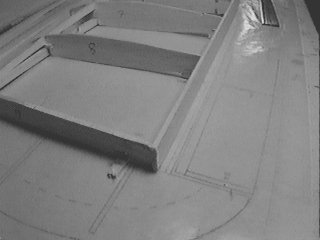 |
Here is the wingtip-aileron area. Note that I have moved the aileron spar forward a bit - I decided to do a scale-type offset hinge instead of the bevel hinge shown on the plans. This way all of the hinges on this plane will be done the same way. |
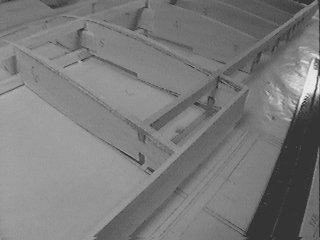 |
You can see here how far off ribs 5 & 6 were. I had to lengthen #5 quite a bit and shim them both. You can see the pen lines traced from the plan templates. For shimming the ribs, I cut narrow cross-grain strips of 1/8 balsa. I used the same thing on the fuse formers and this works very well. Cutting these cross-grain means they follow curves easily. With the shims in place I used the T-bar sander to level the ribs with each other. A 24-36" straightedge comes in handy here to check the contour. |
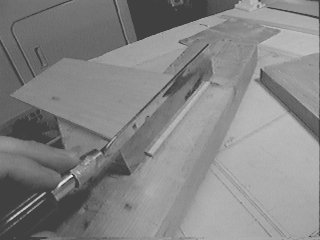 |
Cutting a cross-grain shim. I found this to be the best method for shimming up ribs and formers to make a smooth contour. After these are glued on I use a 24" or 36" steel ruler across the formers or ribs to see the contour and find out where shims are needed. |
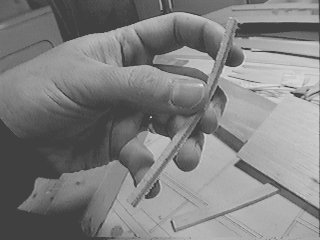 |
A shim cut from 1/8" balsa. Even though this is 1/8" thick, it bends quite easily without breaking. A little thick CA glue and you can instantly make a rib or former 1/8" bigger. The shim can be trimmed and sanded very easily. |
 |
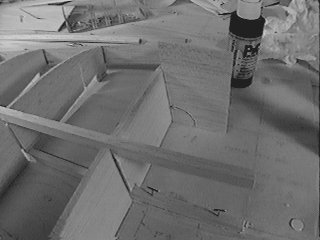
In this picture you can see the temporary square 1/8" balsa braces
I glued over the gaps in the ribs where the plywood dihedral brace (W2)
will glue in. This keeps the ribs in form. I will cut through them before
I glue W2 in.
Note also in this view the large shim required on rib #4. |
 |
This is a good view of the upper and lower spars. The 1/8" leading
edge piece is also visible. Note here the template for gluing in rib #1
at the correct angle. Rib #1 will be the mating face to the fuselage from
the spars forward. These ribs will be parallel to each other when the wing
halves are joined.
You can't see it in this view, but #2 rib (at left) had the spar cutout 1/4" too far forward. Fortunately I checked the blanks before doing the final cutting, so I was able to correct this before it was cut. |
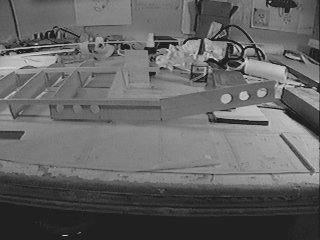 |
This is a view from the rear showing W3 - the rear 1/8" plywood dihedral brace. The plan showed this with a 9 degree angle from the horizontal -- greater than the 6 degrees called for in W2. This didn't look right to me so I cut it with a 6 degree angle to match W2. This turned out to be also too large. I had to hack this piece free from the wing and start over! In reality this piece needed only a slight amount of dihedral. If I had it to do over I would fit the wings together first, glue in W2, and then use a piece of cardboard as a test piece to avoid wasting so much plywood. W1 also turned out to be wrong! More on that later. Sometimes building from plans can be an adventure! |