Aileron construction. After cutting sheeting to the right shape, I glue the ribs on and sand this half to accept the other side.
|
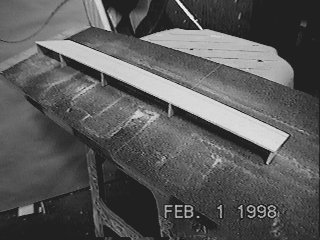
Photo #1
Aileron construction. After cutting sheeting to the right shape, I glue the ribs on and sand this half to accept the other side. |
 |
Photo #2
Here the aileron is being sanded with the aid of a T-bar sander to maintain even pressure across the ribs and trailing edge. Sandpaper is stuck to a piece of 3/4" plywood with 3M77 for this purpose. When the sandpaper wears out you can remove it from the plywood with a Monokote heat gun. The heat releases the 3M77's stickiness. |
 |
Photo #3
Here you see the edge-on view of the aileron after sanding. Note how the trailing edge is sanded sharp. |
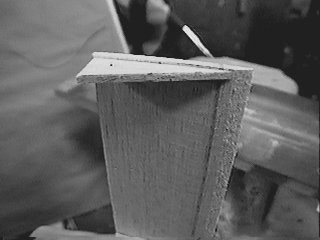 |
Photo #4
Another view of the sanded aileron half. The sanded edges are just a little rough - perfect for good glue adhesion. |
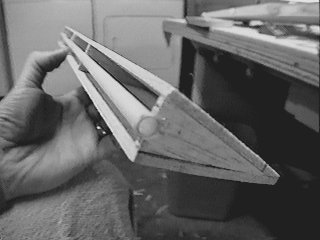 |
Photo #5
Now for the hinge. I chose to do a scale-type hinge on the ailerons. It's a bit more work, but the result is very cool. After playing with some wooden doweling and some plastic tubing, I decided this would make a great hinge. The plastic tubing you see here was brought home by my kids with some helium balloons attached to it. My wife recognized correctly that these would be useful in my shop! They are very light, and with a 1/8" wooden dowel inside them they make excellent hinges! Note also here the trailing edge, which is half the width it would have been if I hadn't sanded the first half sharp. Sharp trailing edges add a lot to the appearance of a wing from the rear. |
 |
Photo #6
Here is a close-up of the middle of the aileron, where the 1/8" plywood hinge bracket will fit into a slot in the aileron. This will give a third hinge point in addition to the braces at each end of the aileron. |
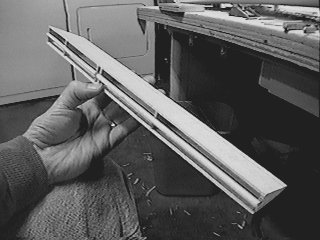 |
Photo #7
Another view of the aileron with plastic tube hinge attached. |
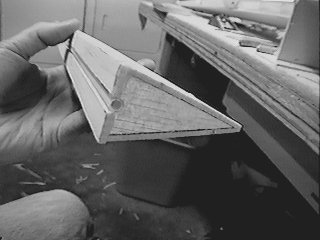 |
Photo #8
Now I've glued two 1/8" strips on either side of the tube. This presents a flat surface to which I will glue the leading edge. |
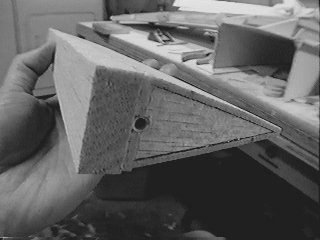 |
Photo #9
Here the 1/2" soft balse leading edge is glued in place. After this I used a compass to draw a semicircle centered on the tube for use in shaping the leading edge. |
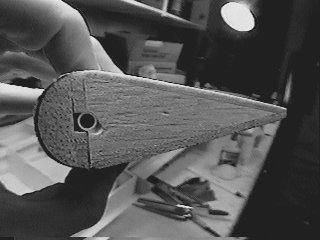 |
Photo #10
Here the aileron is sanded to final shape. |
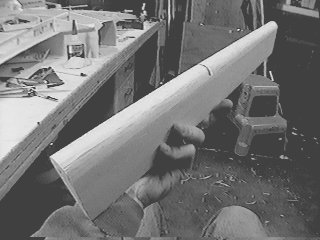 |
Photo #11
The finished aileron. Note the slot in the middle to accept the hinge bracket on rib #7. |
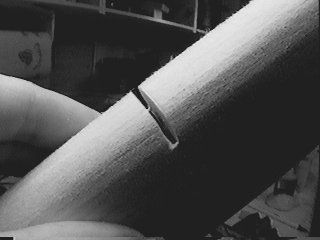 |
Photo #12
Here is a close-up of the aileron slot. This is the external view of what you see in Photo #6. |
 |
Photo #13
Here you can see the three plywood hinge braces attached to the wing.
The inboard brace acts as a brace for the flap hinge dowel as well.
|
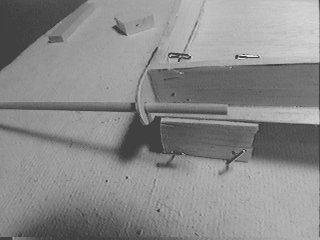 |
Photo #14
Here is the dowel going through the wingtip hinge brace. |
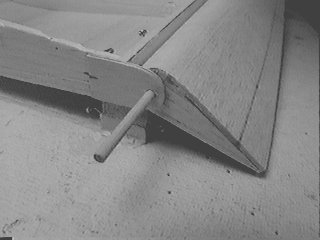 |
Photo #14
Here is another view of the wingtip, with the aileron now in place. |
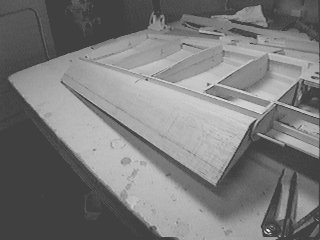 |
Photo #16
The completed aileron mounted on the wing. |
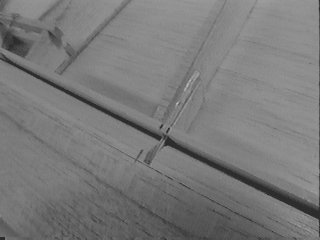 |
Photo #17
Here is a close-up of the 1/8" hinge brace, glued to rib #7. |