Feb 28, 1998 - Part 2

The wingtips and leading edges are installed.

 
Photo #1 
 
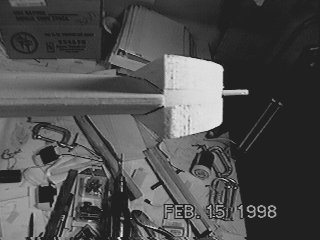
OK, so I'm behind a bit in my web publishing! (note the date on the picture)  So sue me!!!  :-)

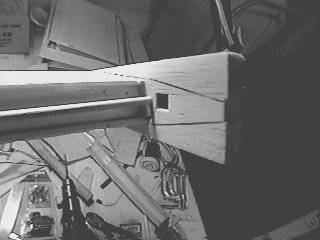
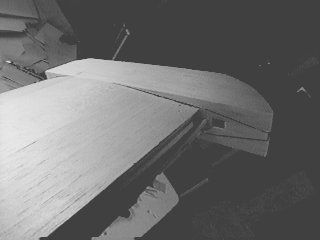
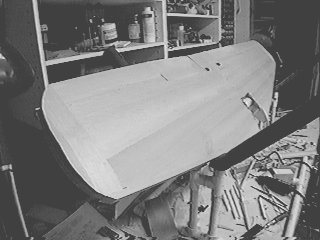
The wingtip frame from the plans follows the outline of the wingtip and is about 1" wide.  In other words there is a large cutout next to the tip rib W9.  I cut this part per the plans, but did not follow the plan suggestion of using simple triangle bracing on top and bottom and sheeting over with 3/32" balsa.  For one thing this looked very weak to me, and it also didn't have a nice smooth contour.  I don't know about you, but I often like to pick up my airplanes (with a partner) by the wingtips, so I didn't want this area to be flimsy.  So I used very soft, light 1/2" balsa sandwiched on both sides.  Yes, this will add a few ounces, but this isn't a glider!!!

 
Photo #2 
 
View of the wingtip sandwich from the rear.  Note the 1/8" dowel aileron hinge pin protruding.
 
Photo #3 
 
Close-up of the rear wingtip.  The hinge pin will be secured from underneath with a screw.
 
Photo #4 
 
The rear of the wingtip with the aileron removed.  Note that the wingtip block is now flush with the plywood hinge pin brace that was glued to W9 earlier.  Note also the hole in the middle.  This is the hollow formed by the cutout in the 1/4" balsa wingtip piece which is the center of the sandwich.
 
Photo #5 
 
High-angle view of the wingtip block.
 
Photo #6 
 
The wing with all the pieces in place for the first time!
 
Photo #7 
 
The center section is glassed.
 
Photo #8 
 
Edge-on view of the wing trailing edge.