
After visiting Garber and seeing the last remaining real Do 335 in the world, I have renewed inspiration. See the Garber Virtual Tour to see photos of this relic. I was able to photograph the cockpit in detail.
|
|
This is the right half of the stab, top-side facing up. It was framed up on the building board upside-down, then the bottom was sheeted. You can see the notch for F19B can be seen on rib #2. The leading edge and spar were shimmed up from the building board to get the proper rib position. |
|
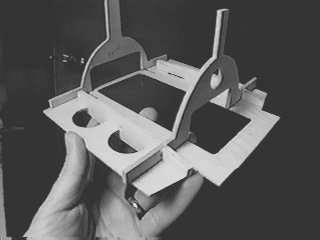
The finished upper-tail center section. The three sections of rib #1 are glued directly to the 1/16" ply plate, and to the upper tail post and F19B. |
|
Here is a closeup of rib #1 glued to the center section. |
|
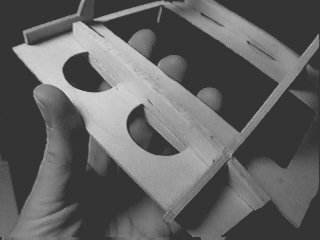
Here is the left stab attached to the center section. Note how F19B fits into the notch in rib #2 and the rear spar fits against the plate. |
|
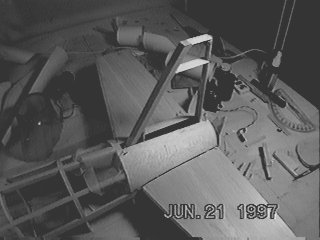
Here is the whole assembly set in place on the rear fuselage. Now the
final alignment is done. I had to shim up the right saddle 1/16". The
stab halves needed to be held in the correct position while the top
sheeting was glued on. They tended to warp after being glued to the
center section. I used some blocks underneath the tip of each one,
then shimmed the leading edge to get the proper incidence. Once the
top sheeting is glued on the stabs become rigid.
The stab came out with a slight amount of dihedral. I'm not sure if this is by design. The drawings of the full size Do 335 seem to show some slight dihedral in the stab. |

|
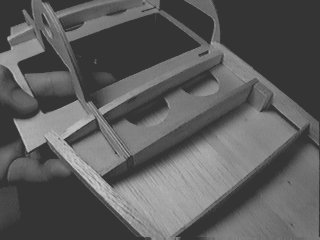
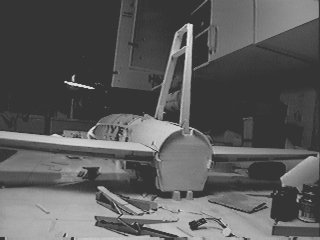
The assembly viewed from the rear. You can see how the rear spar, the upper fin post, and the rear stab spar fit together here. Actually, the rear spar and side-tab of the fin post did not quite come together. I had to put a piece of 1/20" balsa in between to fill the gap. |
|
Now the stab is sheeted and the fin construction is underway. The 1/8" sheeting on the curved fuselage-part is also glued in place. |
|
The tail assembly from the rear. Note that the sheeting is not glued to F20, which is the rear fuse former visible in this view. The aft firewall will be glued directly to F20 after the fuse is removed from the building board. |