We'll start with the fuselage, moving from the firewall to the tail. The first thing we do is pin the 1/4 x 1/2 crutch down over the plans.
|
|
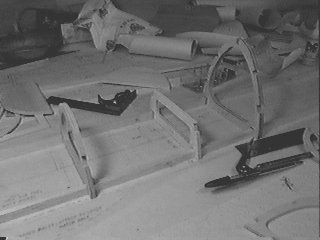
Here is the crutch pinned down, with a few formers test-fitted on top. The crutch serves as a guide when placing the formers, it ensures that the fuselage is built straight. What we will do is build the top half of the fuse over the crutch, partially sheet it, then remove it from the building board. |
Glad you asked :-) There are many different ways to do this. All of them involve sticking the plan to a piece of wood and cutting it out. Some people leave the plan stuck to the wood and cut the part with the plan still attached. I prefer to transfer the part outline to the wood, that way the plan isn't destroyed and you can re-use it if necessary.
|
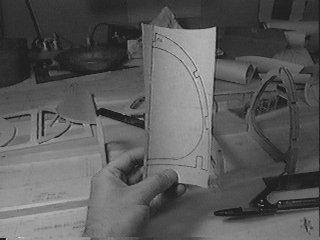
OK, here we go. You cut the plan into pieces, which gives you templates like this one. Some will show the whole part, some only half the part with a center line (like this one). This is a bit more work, because you have to flip it over and do the other side, but it's not as bad as you might think. |
|
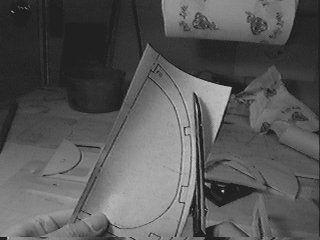
Now trim around the template, leaving only about 1/4" all around the part. We're going to use this to cut a blank, from which we'll cut the part. |
|
Now lay the template on the wood and trace around it. Also mark the centerline if you have to flip it. |
|
Here we flip the template over and trace the other half of the blank. After the outline is traced, cut out the blank. Then cut another one. WHAT??? Cut another one? -- Yes -- It is no more work to cut two parts than it is to cut one. You might as well cut an extra set of parts. You may want to build a second plane, or GOD FORBID you may need replacement parts. |
|
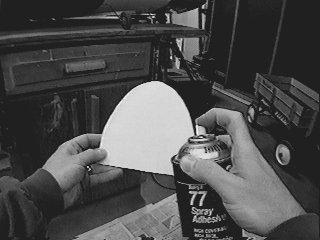
Spray one of the blanks with 3M 77 spray adhesive. Stick the other one on top of it. This will hold the two parts together securely while you cut them out. You'll find that 3M 77 is an indispensable tool for scratchbuilding. Don't do it like this though :-) Put the part on some newspaper. 3M 77 doesn't wash off - you don't want it on your hands. And take their advice about turning the can upside down and spraying all of the adhesive out of the tip after each use - the tip will get gummed up very easily and it's nearly impossible to clean out. |
|
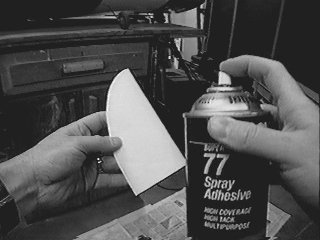
Now spray 3M 77 on the template and stick it down on top of the two blanks you just glued together. |

|
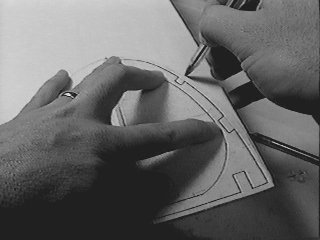
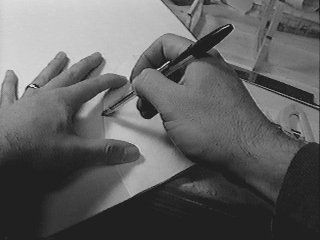
Now using a push-pin, poke holes through the template and into the wood, going around the entire outline of the part. Do just enough holes to copy the pattern onto the wood -- the holes should be closer together where the outline is more curved. On straight runs only a few holes are needed. |
|
For our part, we have to flip the template over and do the mirror-image on the other side. Use two reference holes that are right on the center line to line up the template on the other side. |
|
When all the holes are poked, go around with a pen and trace the outline
of the part. This is optional. After some practice, you will be able
to cut out most parts with just the holes for reference.
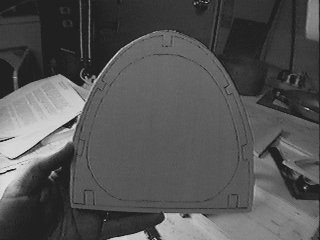
This blank is now ready for cutting. |

|
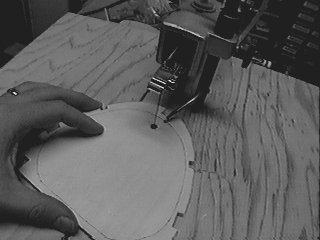
I like to cut the indentations (stringer cutouts) first. The edges of these can be hard to spot if you cut the outline first. This is a standard Dremel 16" scroll saw. This tool makes scratchbuilding alot easier. If your design doesn't have too many plywood pieces you may be able to get by without it. |
|
The inside cut is made by first drilling a hole, then putting the saw blade through the hole and re-attaching it to the saw arm. Hint - if you hang onto the blade with one hand and maintain tension on it, you won't have to re-seat the bottom of the blade. |
|
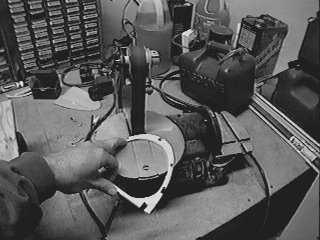
Lastly, sand the part to the final outline. The Dremel belt/disk sander makes this alot easier. I would recommend this tool to anyone, even if you don't scratchbuild - I use it all the time and I do alot less sanding by hand than I used to. |
|
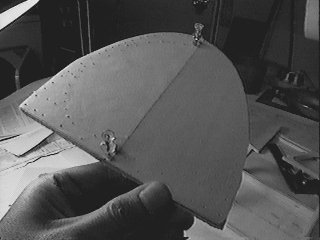
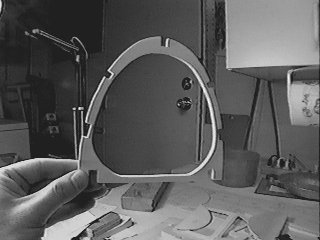
There's the finished part. This is actually two parts, still glued together. They can be easily pried apart after test fitting and any final reshaping. |