Work has been crazy! I've been lucky to get in a few hours a week
on the Do 335. The pictures below are scans from 35mm prints, which
I've been taking all along in hopes of publishing a print article on this
project someday.
I've now installed all of the lower formers. The fuselage is really starting to look like something. I've actually gotten a bit further than what you see in these photos, I just haven't gotten around to taking more pictures with the digital camera. It's more trouble than taking the 35mm pictures, believe it or not!
|
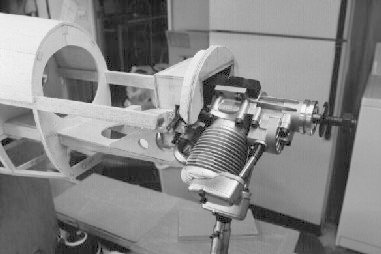
Here is the Saito .50 mounted in the rear firewall. You can see that alot of structure had to be cut away to clear the carburetor area. |
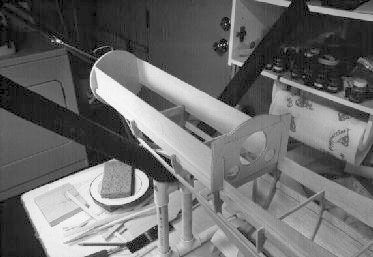 |
Here is the lower forward fuse with F1, (F10) and the 1/16 ply lower fuse frames. |
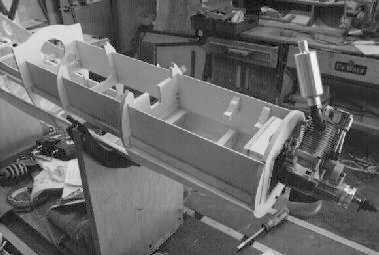 |
Here is the same area with (F4) and (F8) installed. The former
numbers with parenthesis, by the way, are the lower halves of these formers,
so for example, F4 is the upper part, (F4) is the lower part below the
crutch.
Note also in this picture the mounting blocks for the throttle servo. |
 |
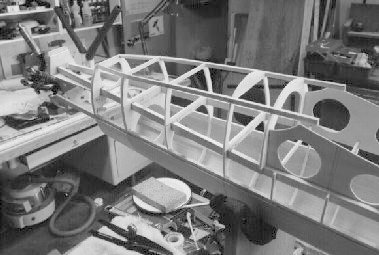
Upper front fuselage. Note the .010 styrene sheet plastic on
the rear cockpit bulkhead. I'm using this in the cockpit area to
prevent having to fill the woodgrain when finishing this area.
Note also here the completed front hatch. It is held on with two 4-40 screws front and back. |
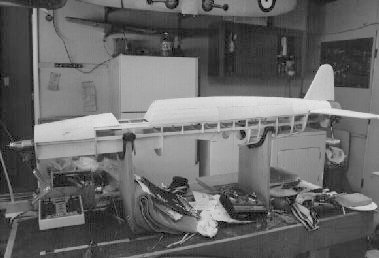 |
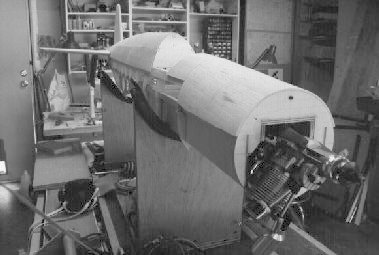
Overall view of the fuse with both engines mounted. |
 |
Close-up of the lower rear fuse with all lower formers and stringers in place. I've decided not to go much further with this area until the wing is ready for mounting. |
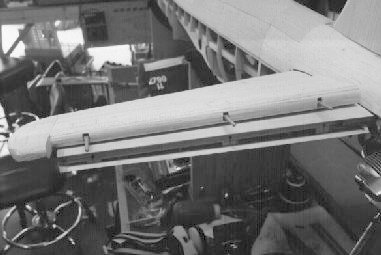 |
This is how the tail surface hinging was done. I decided to do this more scale-type hinge, as apposed to the more standard bevel type called for in the plans. It achieves a much better look and scale operation. It really isn't all that much work either. Robart hinge-points are used throughout. |