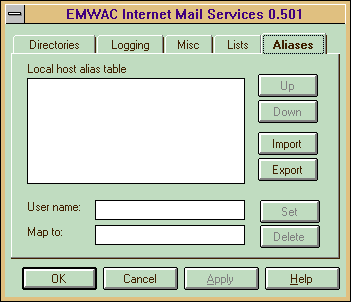
You can configure IMS to redirect mail using "Aliases".

When IMS processes a message addressed to a local user on the Windows NT system, it checks the recipient's name against an "alias table". If a matching entry is found, the message will be sent instead to the replacement address specified in the table.
Now, any messages to foo@thismachine.mycompany.com (assuming your machine is called thismachine.mycompany.com) will be sent on to F.O.O'Riordan@abc.xyz.com.
Note that foo does not need to be a registered user of your machine.
You can also specify a single wildcard as the first character of the Map to: field. This will be replaced by the actual username when the table entry is used. For instance, if the user name string is "f*" and the corresponding Map to: string is "*-blue@xyz.com", then a message for fargle@thismachine.mycompany.com will be redirected to fargle-blue@xyz.com
This feature can be used to redirect all mail to users at this machine to another machine, by specifying a user name of "*" and a map to address of "*@thatmachine.mycompany.com".
You can Export alias entries to a text file. The Export brings up a standard file open dialog.
The format for the text file is that each line should contain two fields separated by ":". The first field specifies alias name; and the second field specifies the mapped name. Lines started with a line with "#" are comment.
Here is a sample file:
	# This is a sample file for alias
	Postmaster: administrator
	alias1: user1